Large-format stone slabs: slab layout and dry lay
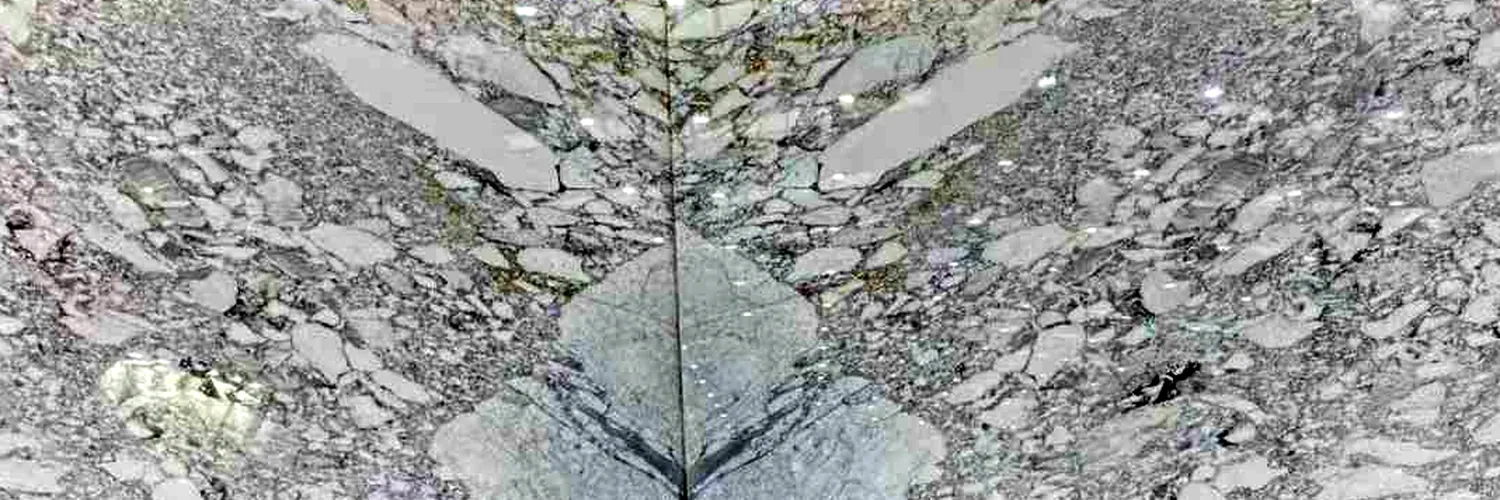
On a natural stone project you do not buy square metres: you buy slabs. Each one is unique, with its own number and its own pattern. Working with full slabs rather than a generic material is what separates a wall that flows from one that looks pieced together.
Think in slabs, not square metres
Slabs come off the block at their own real dimensions, which vary from block to block. So the design has to start from those dimensions: the height of the wall, the length of the island or the width of a stair tread decide how many slabs you need and where the joints fall.
- Ask for the actual dimensions (length × height × thickness) of the available slabs before you finalise the design.
- Quantities are not worked out by adding up areas. The fabricator or the engineer calculates them from the slab layout. Book-matched layouts produce more waste, because the pattern takes priority over yield.
The slab layout drawing
A slab layout places every piece of the project onto the real, numbered slabs. It shows which part of each slab goes where, where the joints fall, where the axis of a bookmatch runs, and how the veining continues from worktop to splashback or from one wall to the next.
It is prepared by the fabricator or the project's technical team from photos and measurements of each slab. A good slab layout includes:
- Every piece, numbered, with the slab it comes from.
- The direction of the veining and the face side.
- Joints, edges and mitred corners.
- Cut-outs: sinks, hobs, sockets, taps.
Everything is decided before cutting. Once a slab is cut, there is no going back. This matters most on walls (see interior stone wall cladding) and on islands with a waterfall countertop, where the veining has to run down the side without a break.
The dry lay
Before installation, and sometimes before cutting, the slabs or pieces are laid out side by side in the order they will go in. A dry lay shows what a drawing cannot fully capture:
- No jumps in tone between slabs.
- Veining that flows, and a bookmatch that lines up.
- Small pieces, such as skirtings or stair risers, that do not end up with an odd fragment of vein.
A first pass can be done on scaled photos of the slabs. The physical dry lay then confirms the result before installation.
Consecutive slabs and block numbers
Every block has a number, and every slab has its position within the block. Two consecutive slabs have almost the same pattern, because the veining runs through the block and changes very little from one slab to the next. That is what makes bookmatching possible and gives continuity to a large wall or floor.
Mixing slabs from different blocks can bring jumps in colour and pattern, even in the same stone. Always ask for the block and slab numbers and carry them onto the slab layout: they are the reference for the workshop and the site.
Reserving a block on large projects
For a hotel with dozens of bathrooms, a residential development or a large lobby, the safest route is to reserve a whole block, or a run of consecutive slabs, so all the material matches. There is more on this in natural stone for hotels and retail.
- Buy all the material in one go if you can. The next block of the same stone may look different.
- Reserve early. Selected slabs are set aside while the project is approved.
- Specify the stone properly: name, finish, thickness and tolerances. See how to specify natural stone.
Approving slabs by photo or video
There is no need to travel to choose. We send photos and videos of each numbered slab with its dimensions, so the architect, designer or client can approve the exact slabs. A few tips:
- A full-slab photo, taken straight on in good light, plus a close-up.
- Video to see the sheen, the crystal and how the stone changes with the light.
- Screens distort colour. Always compare photos taken under the same light.
- Get the approval in writing, with the block and slab numbers.
Transport and handling
A large slab is heavy. With a density of around 2,600–2,800 kg/m³, 2 cm stone weighs about 52–56 kg/m² (10.5–11.5 lb/ft²) and 3 cm about 78–84 kg/m² (16–17 lb/ft²). A slab of, say, 3 × 1.8 m (about 10 × 6 ft) weighs roughly 280–300 kg (620–660 lb) at 2 cm and 420–450 kg (925–990 lb) at 3 cm.
- Packing: slabs travel upright in wooden A-frames or crates (bundles), with spacers between them. For export, the timber is treated to the ISPM 15 standard. More in buying natural stone from abroad.
- Always on edge. Never carry a large slab flat without continuous support: it can snap under its own weight.
- Use the right equipment: slab clamps, vacuum lifters and A-frame racks, with the edges resting on timber or rubber.
- Take care with pieces that have cut-outs (sink, hob): they are the weakest point.
- Check site access: lifts, stairs and doorways. If a slab will not fit, plan the joint in the layout, not on the landing.
- On delivery: inspect the load, take photos before unloading and note any damage on the delivery note.
Stones that shine in large format
Every photo shows a real slab in our warehouse:
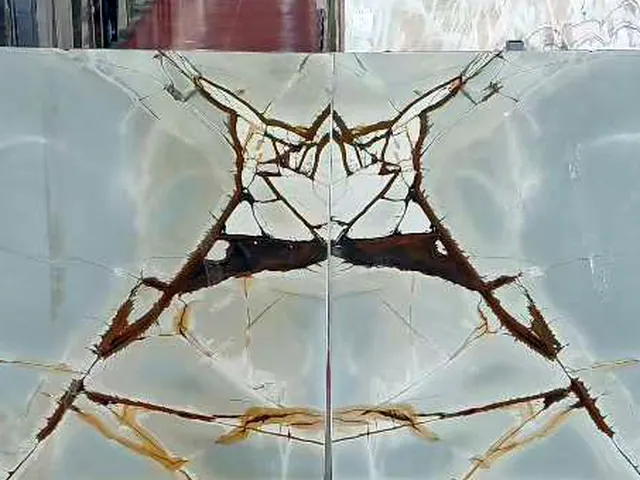
Blue Roma
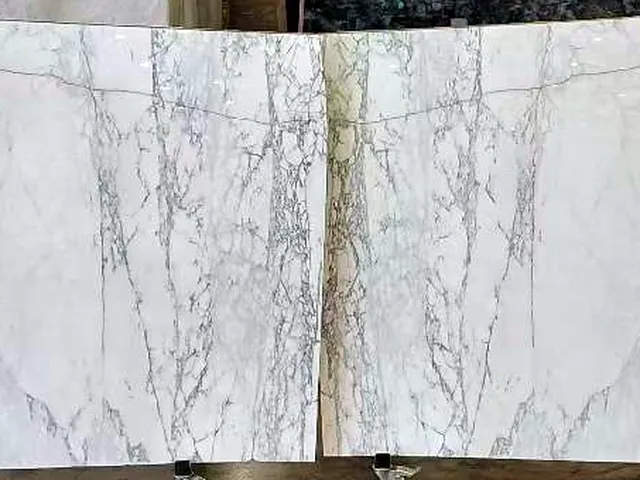
Calacatta
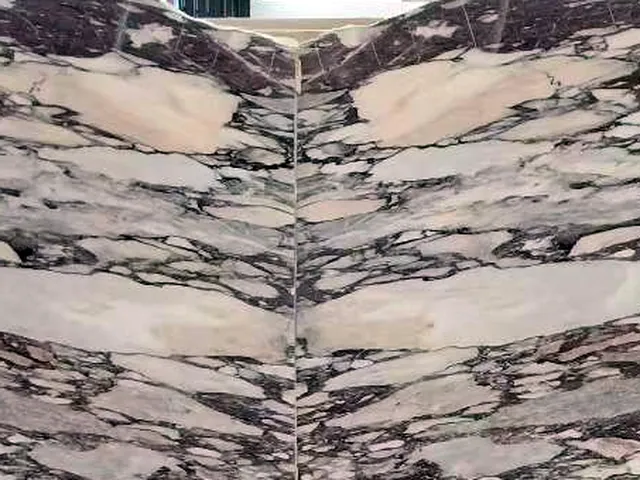
Calacatta Viola
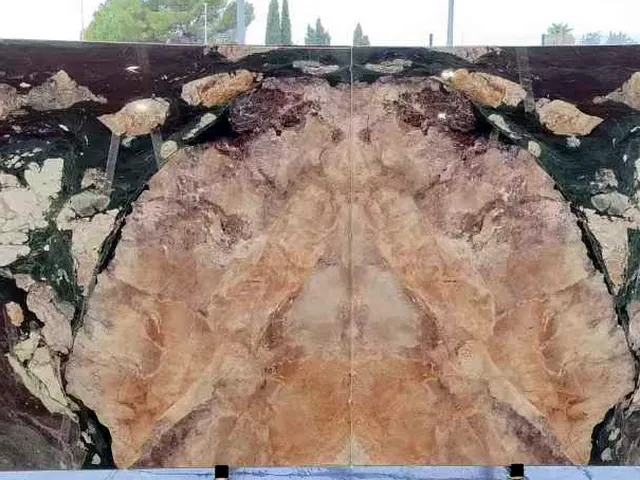
Four Seasons
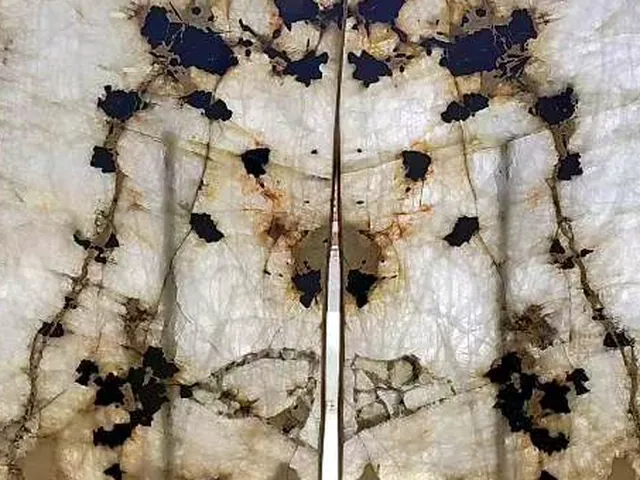
Patagonia
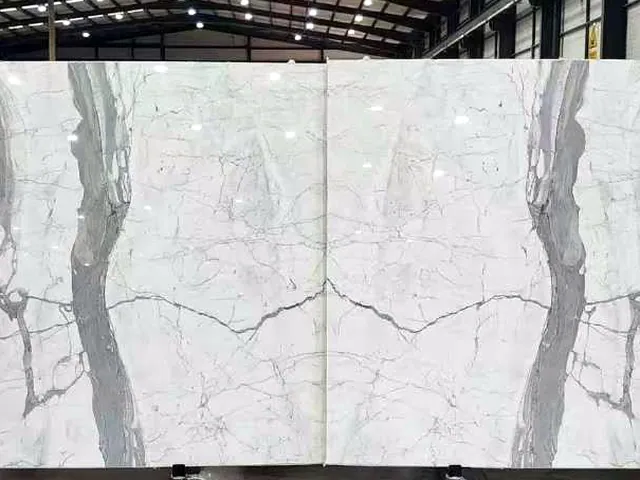
Statuario
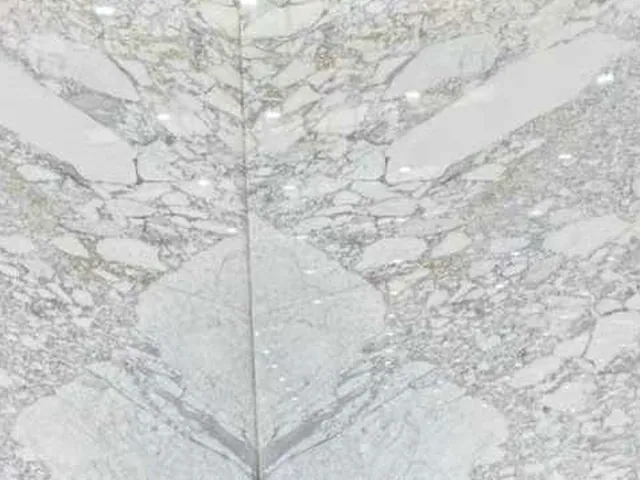
Calacatta Vagli
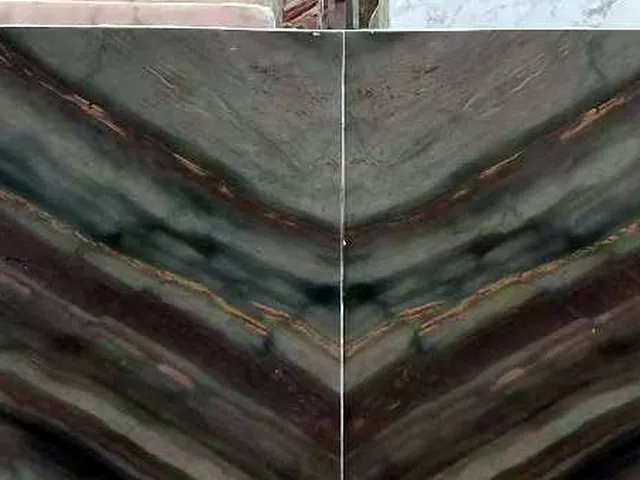
Elegant Brown
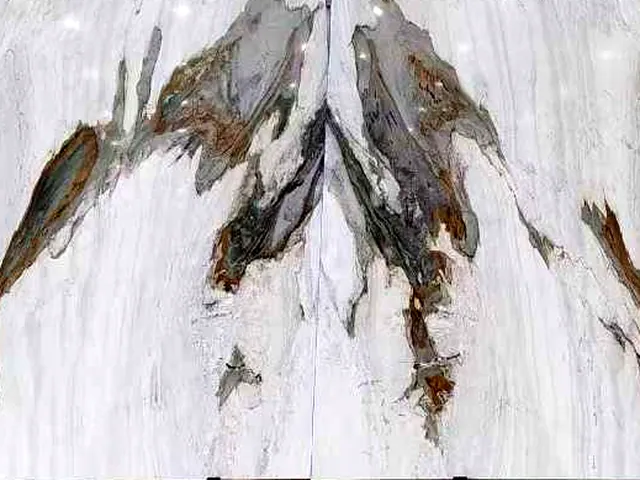
Macchia Vecchia
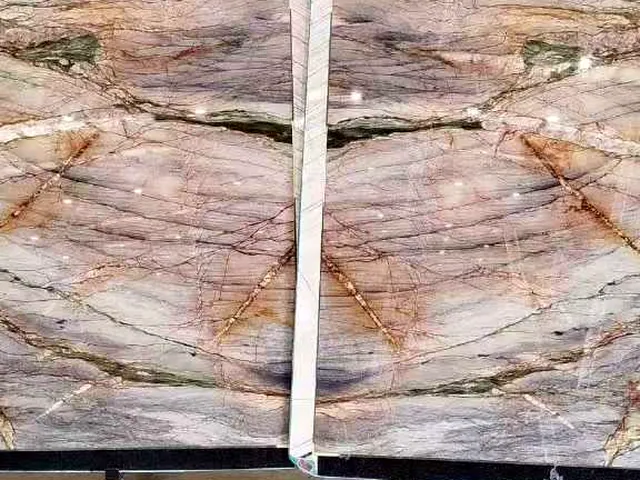
Michelangelo
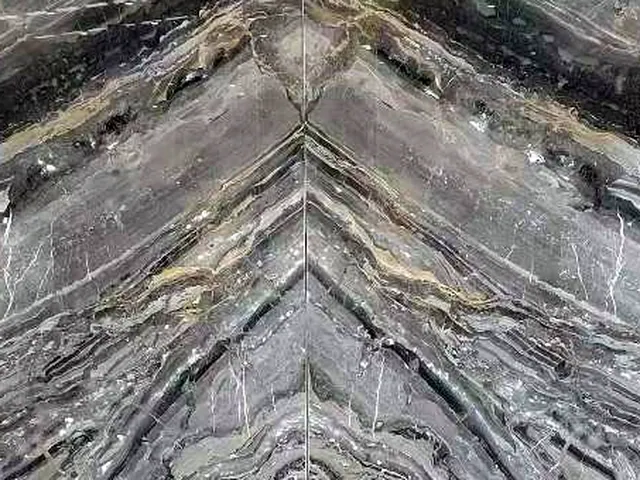
Orobico Grey
Working on a project with large-format slabs? Send us the drawings or dimensions and we will send photos and videos of real slabs, with their block numbers, so you can prepare the layout. We reserve them, cut pieces to size if you need it and ship to any country. If you are in the trade, there is more on our trade page.
Have a project in mind?
Ask us for a no-obligation quote: we will reply with an indicative price.